How can i add markers?
1 min read
Adding markers to your account is an easy way to better understand the route your objects made. To be precise markers provide you with additional information regarding the locations on the maps, and they are mostly used in order to add POI (point of interest) like the location of clients, the location of suppliers/providers, and more.
In order to start adding markers, simply click on the “Places” tab and then click on the “Markers” tab (both of them are highlighted with red square). Then click on the “Add Marker” button which is highlighted with a red square!
Once you click the “Add Marker” button, a new window will appear and you can choose a name, a short description, a group to assign the marker to, and also the marker’s icon ( or even add an icon of your choice). Then all that remains is to click on the map to add the marker of your choice and click save.
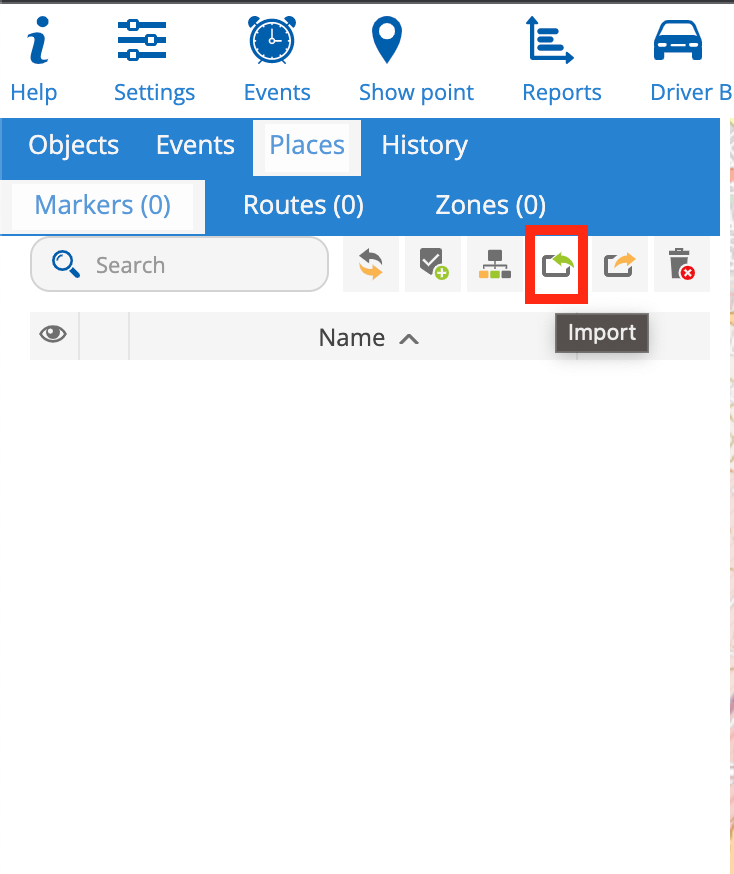
Finally you can import your markers in bulk, with a Comma Separated Value (CSV) file. You can download a sample of the correct CSV format here and upload it by pressing the upload button, just like it shows in the image below:
Added functionality
If you are interested in the markers you can also include a image in the marker, by including a <img src> HTML tag inside the description. Be aware the max size for the image is 128×128 px


Powered by BetterDocs